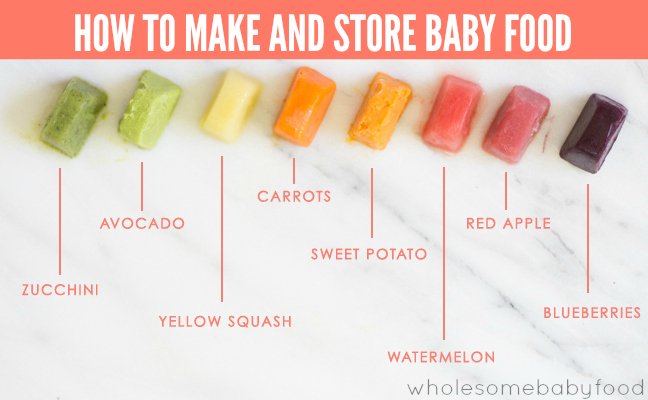
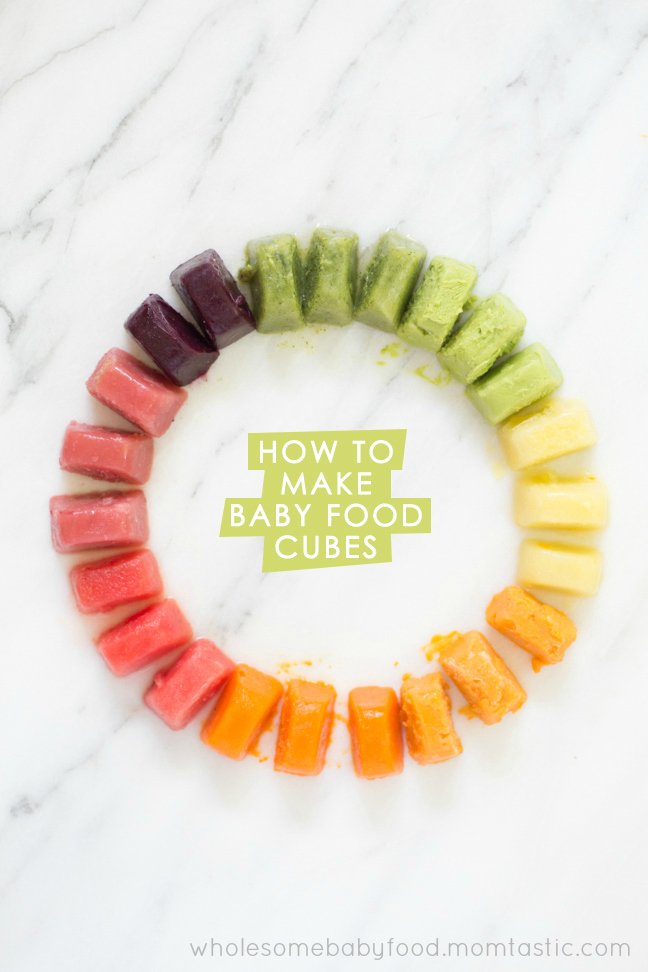
Pureeing and Storing Baby Food – a quick introduction
Preparing homemade baby food puree is not only fun, it’s also very simple. You will be surprised to see that it really will take less time to puree baby food than you imagined.
![]() Don’t want to puree? Check out Baby Led Weaning page.
Don’t want to puree? Check out Baby Led Weaning page.
Pureeing homemade baby food is very simple. Cook the food, let it cool a bit, toss it into a blender or food processor and puree away. You can also use a stick mixer or an immersion blender. Puree and blend your baby foods as your creativity and your baby’s age allows. Don’t be afraid to puree sweet potatoes together with apples for example. And don’t be afraid to use breast milk and/or formula. These 2 ingredients will give a nutrition boost as well as offer baby a familiar taste!
Jump to these How to Make Baby Food Puree Topics Below:
- Freezing Baby Food Puree
- When to put the Puree into the Freezer/Refrigerator
- Storing Baby Food Puree in the Refrigerator
- Appliances to Use for Making Baby Food Puree
How To Make A Baby Food Purée
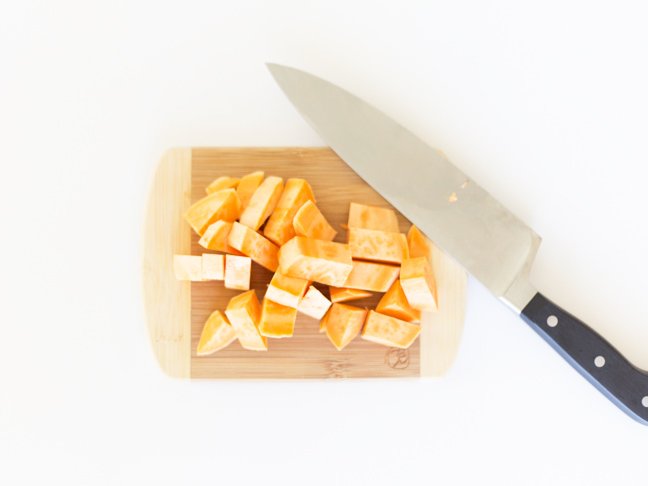
Step 1: Start by cooking the vegetable/fruit either by steaming, baking, microwaving or boiling.
Steaming maintains the most nutrients. Steaming, baking and boiling all allow for big batches of foods to be made at one time. We steamed the sweet potato in the example below- yum!
Microwave if you have a small appliance or for when you plan to puree only a full ice tray of food. It is best to microwave in glass. Many parents prefer to not use a microwave (ourselves included); we suggest that you steam or bake as the preferred cooking method. Read all about the various Cooking Methods and Baby Food
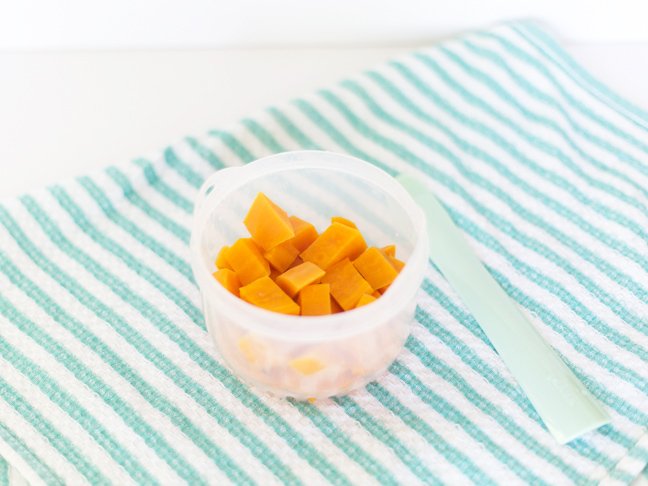
Step 2: Take the cooked vegetable or fruit and remove them into the machine you have decided to use for pureeing.
Step 3: Set aside the liquid that the vegetable/fruits were cooked in. This will be the liquid you add to make the puree. Adding this liquid also helps to preserve any nutrients that may have leached into the water during cooking.
(Do not use reserved water from carrots or other high nitrate veggies for a baby under 7 months old. Read more about Nitrates ) You may also thin with Formula, Breast Milk or Plain Water.
Step 4: Set your machine to puree or grind and begin to mash the vegetables or fruits.
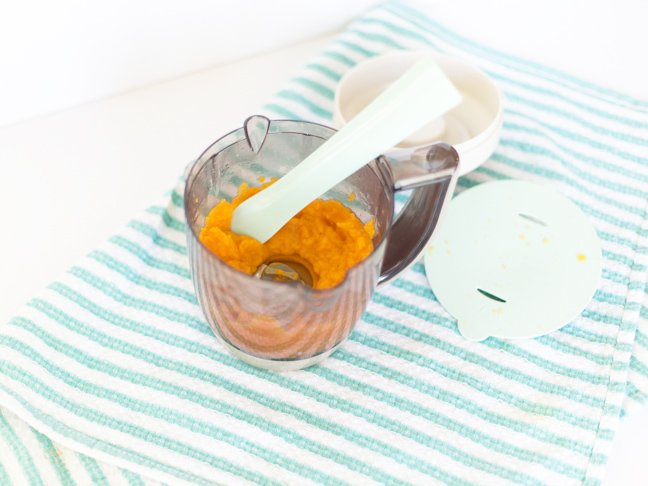
Step 5: As you are pureeing or blending, add the liquid or plain water. You may use formula or breast milk if you so desire. These liquids give a little nutritional boost and add a familiar taste for baby.
![]() Pureeing without adding any liquids is also a good option. Many parents prefer to thin their foods before they will serve them to their babies. We tend to prefer this as well.
Pureeing without adding any liquids is also a good option. Many parents prefer to thin their foods before they will serve them to their babies. We tend to prefer this as well.
 Should I add liquid to thin the purees BEFORE or AFTER I freeze the purees? What should I use?
You may thin your purees either before or after freezing them. Using the cooking water to thin purees is really great as you will be adding back in any nutrients that may have leached out. For some vegetables like carrots, (see our article on Nitrates), you should not use the cooking water to thin the purees.
Formula and/or breast milk are great for thinning out purees as they not only add nutrients, they add the familiar taste that your baby is accustomed to. It really is an individual choice and is dependent on what you will be using as your liquid (previously frozen breast milk for example should never be re-frozen.). Many parents find it easier to thin their purees first and then freeze. When baby moves on to more texture, it may be easier to simply freeze the purees and then thin upon thawing if needed. Read more about using Formula and/or Breast Milk to thin puree.
NOTE: For every type of machine you may use to puree, the secret seems to be in how much food you put in the container baskets to begin with. No appliance will do a good job if over stuffed. Fill the containers less than half way full and add a scant amount of liquid to begin with.
How To Freeze the Baby Food Purée
Never freeze homemade baby food in glass that is not specifically labeled as “safe to freeze”, for example old baby food jars are not meant for freezing.
Step 1: Once you have a nice liquid baby food puree you will then transfer the puree into ice cube trays for freezing/storage.
Step 2: Fill each cube with the puree, as though you were filling the tray with water to make ice cubes.

Step 3: Cover the tray with plastic wrap (foil may be used however is not recommended as shards of the foil may be left on/in the food cubes) and put it in the freezer.
Repeat this process until you have filled all the trays and no puree remains. (Tupperware and OXO brands (prices from $3.99 to $7.00) make ice cube trays with lids if you would prefer getting trays with lids)
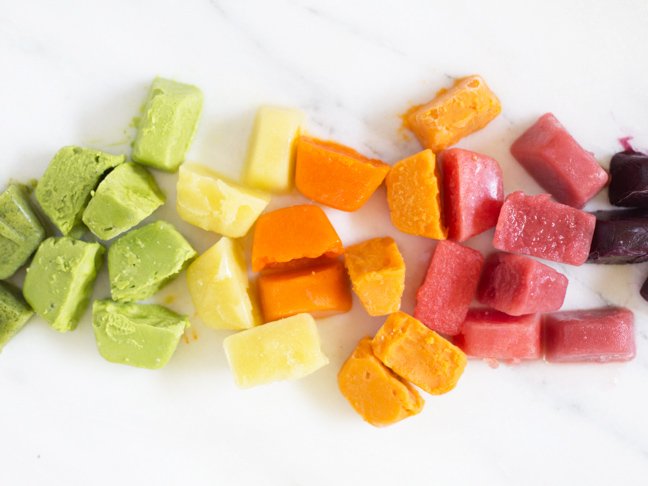
Step 4: Each cube is equal to approximately 1 ounce of food.
Step 5: Once the cubes of puree have set and are frozen, take the trays out of the freezer and transfer the cubes into freezer bags.
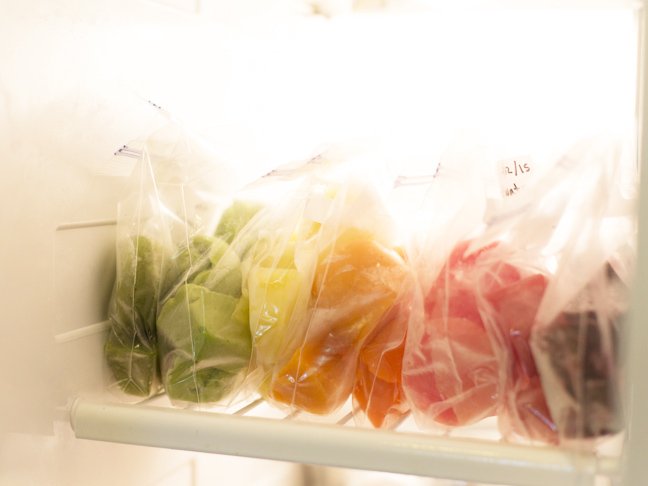
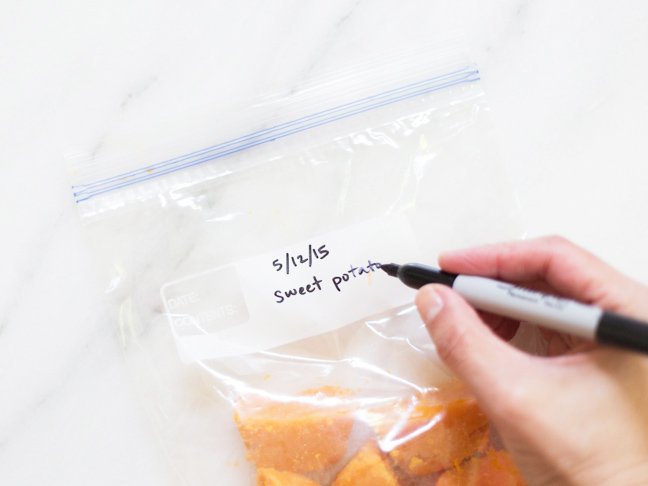
Step 6: Be sure to label the bag with the date of preparation as well as the type of food. The baby food cubes should be used within a month of freezing.
Step 7: When it is time to feed baby, simply take out the number of food cubes needed and thaw and then reheat.
Read the Freezing Baby Food page to learn about other important information. We have also compiled a chart of foods that freeze well and those that do not.
| Stage “1” for the thin watery purees that make baby’s first solids | Use a Blender, a good Hand/Wand/Stick Mixer, a Vita-Mix or a Food Processor. Use the “liquefy” and/or “purée” settings. |
| Stage “2” for thicker purees as baby moves onto more texture | A Blender, a good Hand/Wand/Stick Mixer, a Vita-Mix, a Food Mill/Grinder, a “Ricer”, a Potato Masher or a Food Processor should take you through this stage as well. Adjust the settings on your machine to “blend”, “mix” and “purée” using more of a pulse than a continual whir. |
| Stage “3” and beyond – for chunky, thick purees and “table foods” | A Blender, a Vita-Mix, a Food Mill/Grinder, a “Ricer” , a Potato Masher or a Food Processor should take you through this stage as well. Adjust the settings on your chosen appliance to “grind”, “mix” and/or “chop”, again you should use more of a pulse than a continual whir. |
Storing Homemade Baby Food Purée in the Refrigerator
How long can freshly made homemade baby food stay in the refrigerator?
It is recommended that fresh pureed homemade baby food be stored no longer than 48 hours (many food safety authorities say that 72 hour is fine.) in the refrigerator. This time limit ensures that the possibility of bacteria growth in the puree is kept to a minimum and that the food does not take on the “taste of the fridge”. This “rule” applies for veggies, fruits, meats etc.
If you do not plan to freeze your homemade baby food, we would suggest that you make the puree on a day to day, or every other day, basis. For example, one sweet potato may be baked and then you may freeze one half without pureeing it and then puree the other half. This method will help cut down “waste” and also allow for food safety.
Experts say that it takes an infant between 15 to 21 instances of trying a food before a true like or dislike is established. If you are just beginning to introduce solid foods, you really will not be able to determine if your baby has a true dislike for a food until much later.
Freezing purées allows you to go back and try a “rejected” food over again. Even if you will be strictly following the 3-4 day wait rule, we still recommend freezing baby food purees for optimal food safety.
![]() If you do make small batches and store in the refrigerator, please keep in mind that you should not feed your baby from the container and then re-store. Saliva may contaminate the food and bacteria may evolve. Always take the portions you will serve from the container and transfer to a feeding bowl.
If you do make small batches and store in the refrigerator, please keep in mind that you should not feed your baby from the container and then re-store. Saliva may contaminate the food and bacteria may evolve. Always take the portions you will serve from the container and transfer to a feeding bowl.
When Should the Purée be put into the Freezer or Refrigerator?
Visit our Freezing Baby Food page to learn about Freezing Methods and the foods that freeze well.
While the professional food jury is still a bit divided, the most highly recommend food safety advice on storing foods from the majority of food sources is this:
Refrigerate or freeze perishable foods promptly..
Harmful bacteria can grow rapidly if foods aren’t properly cooled. Refrigerate or freeze perishable foods within two hours of purchasing or preparing them.
If the room temperature is above 90 F, refrigerate perishable foods within one hour. Freeze ground meat, poultry, fish and shellfish if you don’t expect to eat it within two days, and freeze other beef, veal, lamb or pork within three to five days. (read the Mayo Clinic Freezing Information page)
Some say that immediately transferring HOT foods to the freezer is NOT good because that hot food will affect the temperature of the foods around it and quite possibly the temperature of the whole freezer.
I recommend transferring the food you have cooked to the fridge and then to package for freezer storage within 2-3 hours. You may safely leave prepared foods in the fridge for up to 48 hours (72 MAX) so it is up to you whether you want to immediately move your foods to the freezer.
![]()
![]() Salt and sugar are never needed when making baby food. Omit these items, preferably at ALL times, in your baby’s meals. Other spices such as cinnamon, garlic powder, pepper etc. may be introduced as early as 7 months with your pediatricians consult.
Salt and sugar are never needed when making baby food. Omit these items, preferably at ALL times, in your baby’s meals. Other spices such as cinnamon, garlic powder, pepper etc. may be introduced as early as 7 months with your pediatricians consult.
![]() Remember, always consult with your pediatrician regarding introducing solid foods to your baby and specifically discuss any foods that may pose allergy risks for your baby.
Remember, always consult with your pediatrician regarding introducing solid foods to your baby and specifically discuss any foods that may pose allergy risks for your baby.
Photography by Chelsea Foy